How to reach the TDM and install the VATS Passkey Bypass
This instructions are for Installing the NEWROCKIES PRO Module VATS / PassKEY Full Bypass at the TDM. If you would like to install it at the ECM, please refer to: Installation at ECM.
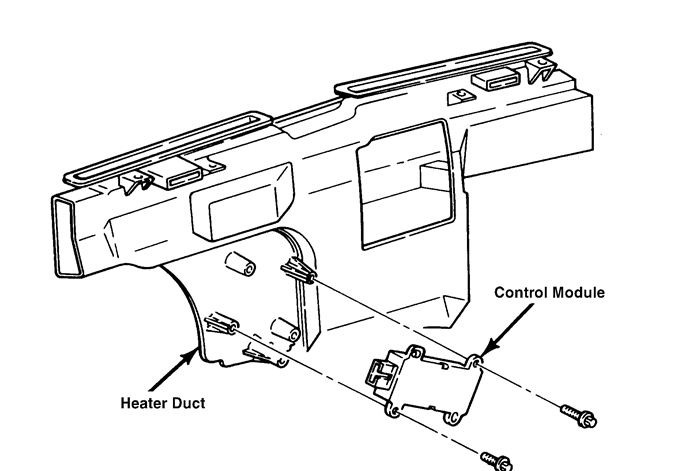
The TDM is usually on the right side of the dash, but depending on the vehicle, it may also be behind the center console attached to the heater duct. If this is the case it is very difficult to get at as it is deep inside the dash and it’s unlikely that you will be able to get it out, but you can likely feel the wires up in there.
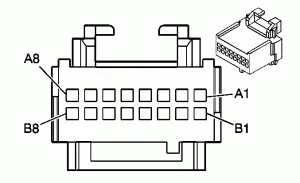
Camaro TDM Connector