Case Studies

CASE 1:

From Dead on Monday to Racing on Saturday

A very special thank-you to Jim Sikorski (aka Jimbo), from East Amherst, NY, for his permission to publish his emails, his photos, and his story!

His First Email

“i have a 1995 caprice wagon cop car, i need to bypass my passkey ( or lack thereof) i have no pellet in the key & the module is behind the headlight switch & was manufactured by mallory […] as if this could happen @ a better time i’m supposed to race it this saturday. HELP!!! […] can i bypass this???? it is putting a big damper on my participation in the race!!! & i planned on winning!!

Passkey Bypass after engine swap

We were very happy to let Jimbo know right away that the Newrockies PRO Module would indeed fix the problem, and informed him that if he placed his order right away, we would ship him the module the next morning.

Time Runs Out!

Unfortunately Jimbo wasn’t able to check his email until Tuesday night, and at that point he sent us another anxious message:

“thanx very much for the quick response i am wondering how long it will take to get here […] it is 6.30pm right now i will check my email before the night ends & if we can have it here by friday (it’s tuesday) i will order tonite & thank you in advance!!! i’ve been pulling my hair out!!!”

Jimbo placed his order that night, on the expectation that delivery would take 1-2 days. On Wednesday he emailed us again to make sure that we had shipped the product, and we sent him back the tracking information. On Thursday morning Jimbo received the package. He was quite excited, and he made sure to let us know:

“thanx so much!!!!! i’ll send some pics of the race car. i’m installing it in & will tell all my friends of your fix for the achilles heel!!!!!”

A Moment of Panic

Unfortunately, by Thursday night things weren’t looking so rosy for Jimbo:

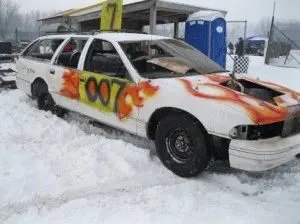
“i installed the PRO on my 1995 caprice classic. it still starts & stalls. i need some help. i removed & flipped the switches & re-installed pro & still nothing, vin#************594. On my TDM there was no A4 pin with yellow black stripe wire & no wire at all. My wires in the connector are as follows:
A1- orange. A2- pink. A3- blue (dk). B5-black white stripe. B7 & B8 white, black stripe & looped.”

We quickly realized that Jimbo might be stuck with some sort of custom setup, and responded to him that same night:

“Jim, it is ok, if you don’t have an A4. Looks like in the police cars they might have shorted the starter enable relay so its wire is not run to the TDM module. Make sure the original module is unplugged and remains unplugged when you install our PRO module. Our module replaces the TDM.
If installation at TDM doesn’t work, you might have a problem in the wiring to the ECM. If this is the case, installing at the ECM directly (option 2) will work well. Again, make sure the TDM remains unplugged.”

And we exchanged a couple more short emails that night, to help Jimbo nail down some details. He wrote to us:

“although i haven’t completed the installation (late & my young son is sleeping so i can’t “fire it up” until the am) this is by far the best interaction with customer service EVER encountered!!
thanx again.”

Hallelujah!

By morning , we were a bit anxious because we hadn’t heard back from Jim and the race was the following day, so we just asked how things were going, and we were left biting our nails until Friday night, when Jim answered us:

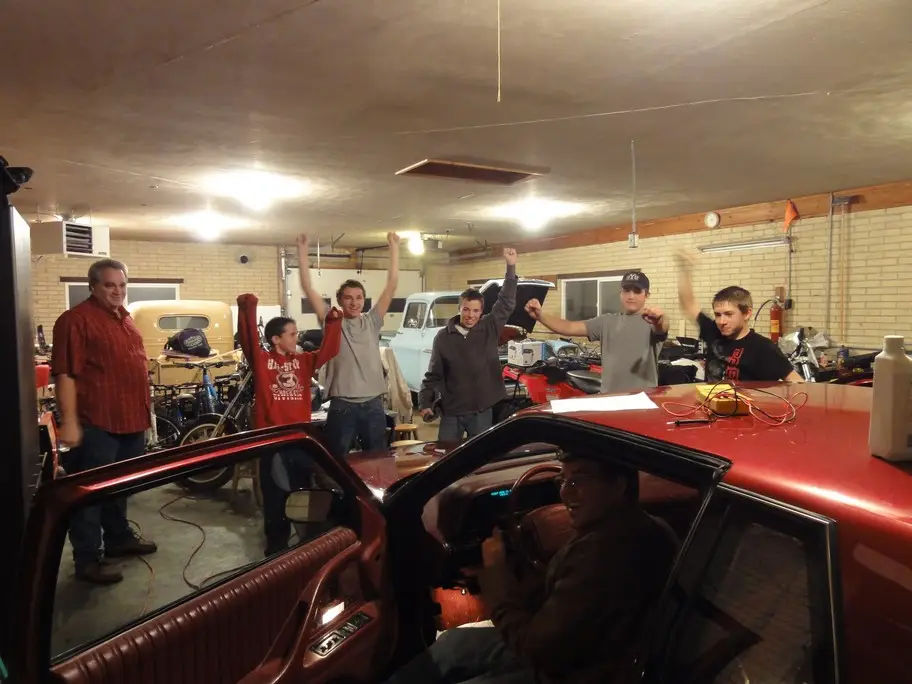
“oh yeah IT WORKED FLAWLESSLY!!!!!!!!!!!!!!!!!!!sorry i didn’t get back to you earlier been busy doing final prep on the race car. again your company’s tech support is the best i’ve ever dealt with and the response time is the crown. so many times customers are left “holding the ball” but with you i was given all the help i needed and believe me i did need it… if the time & money i have in this car left me with a no start condition on the race track my wife probably woulda killed me!!!
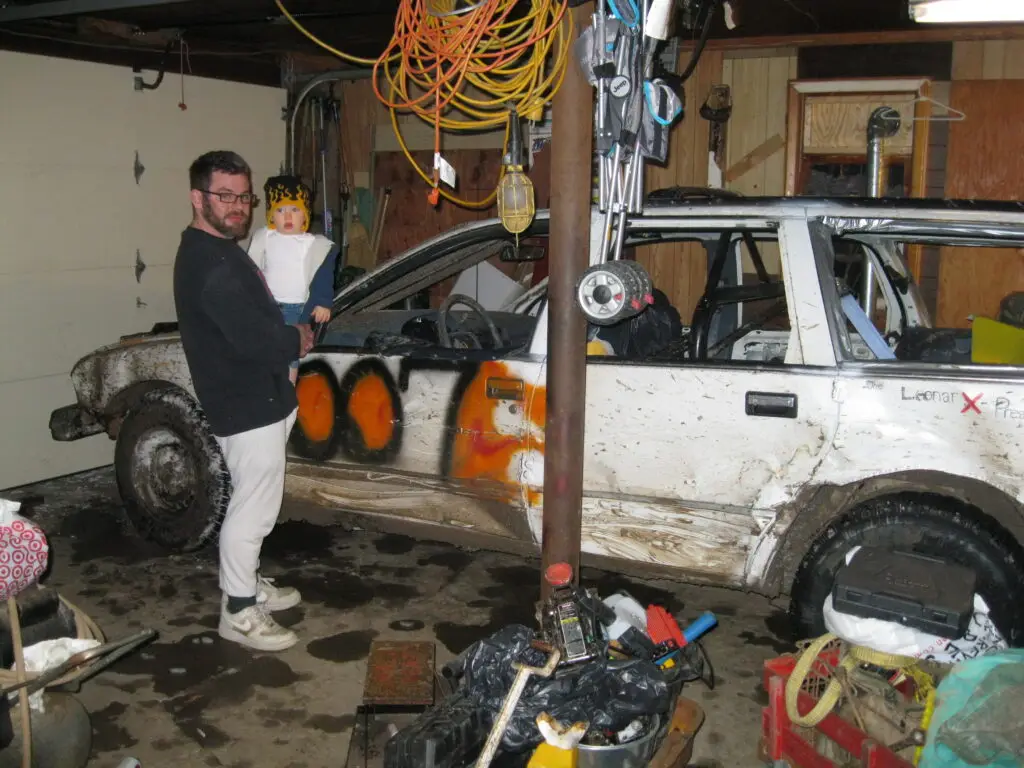
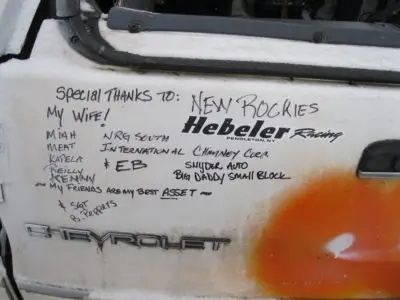
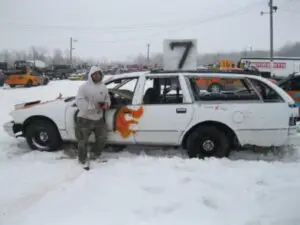
thanx again a million times & FEEL FREE TO USE ANY OF MY EMAILS TO HELP PROMOTE YOUR WONDERFUL PRO PRODUCTS!!! & i will send some pics soon. before & after of course!!! hope your company isn’t a secret ‘cause i’m tellin everybody!!!
running again & fast.
Jimbo”

Yes, the Newrockies team felt pretty good after this! (We think Jim was pretty happy, too.)

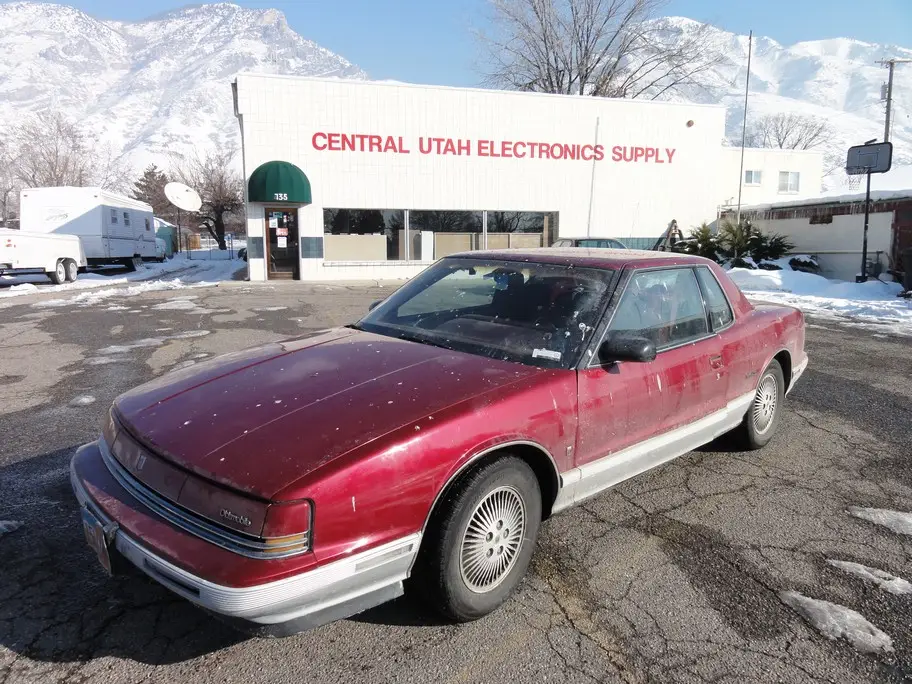
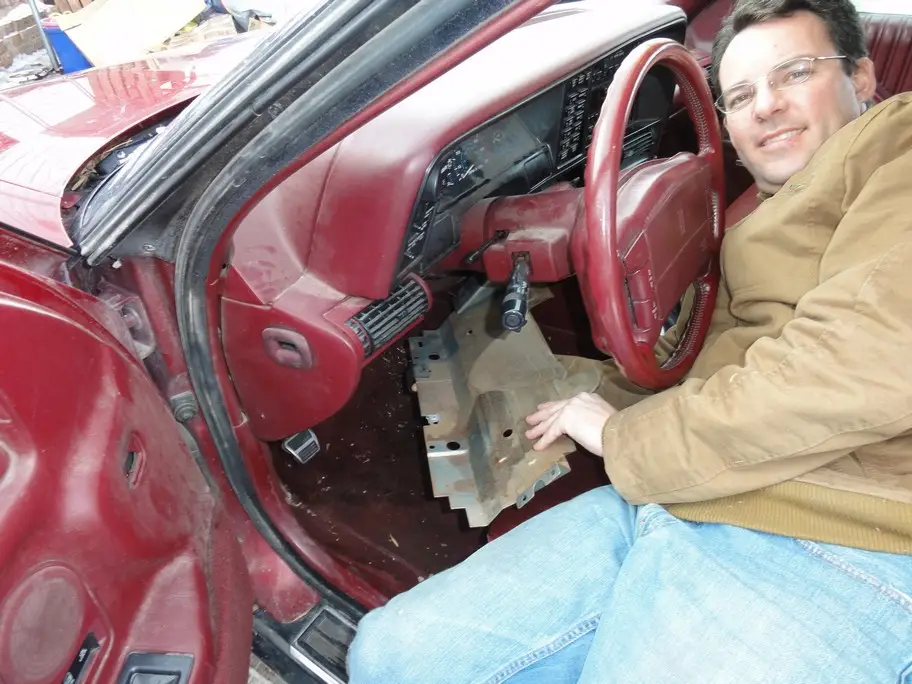
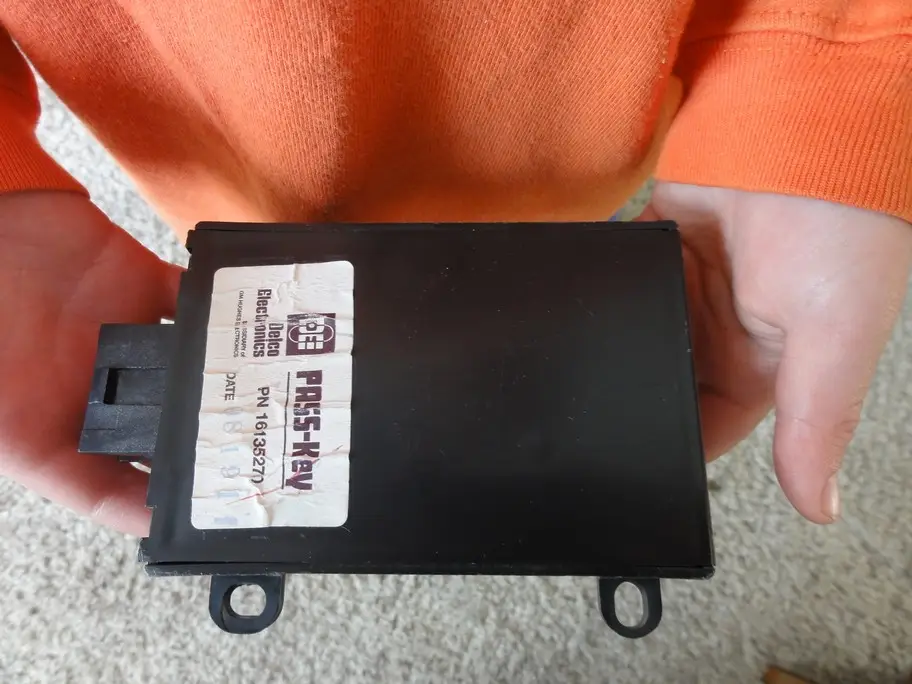
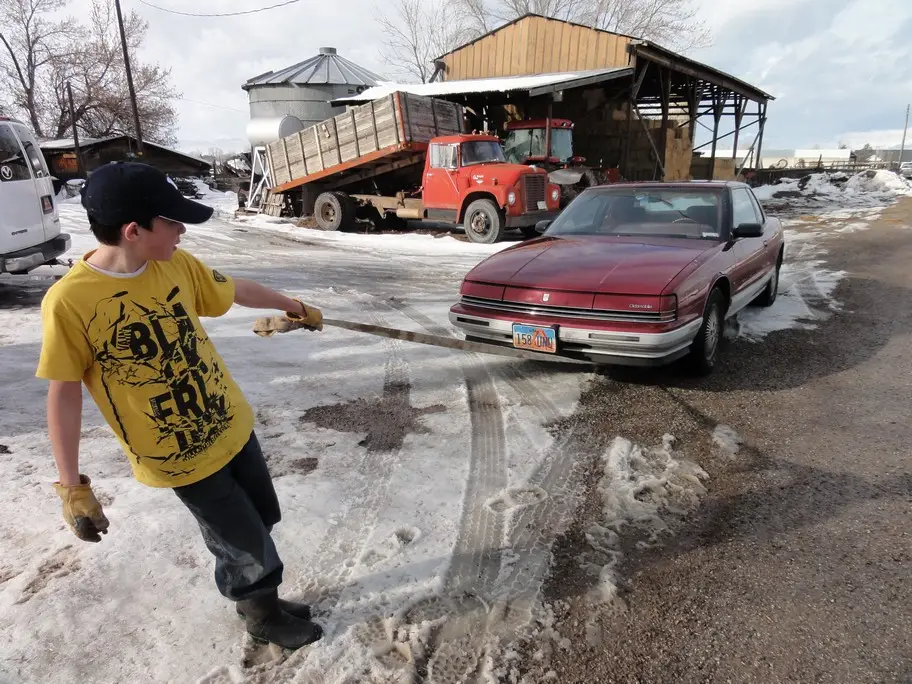
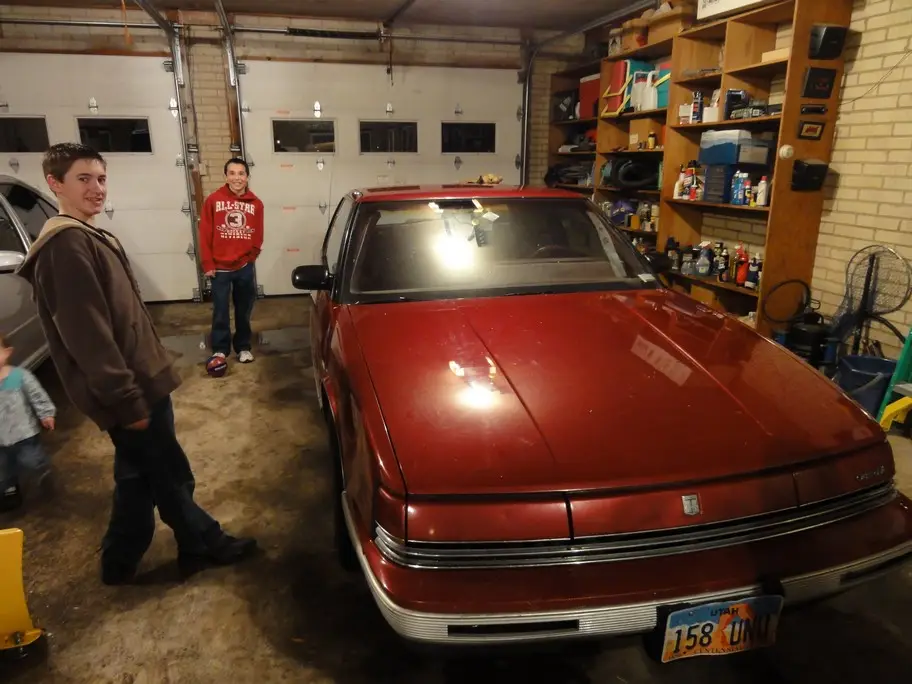
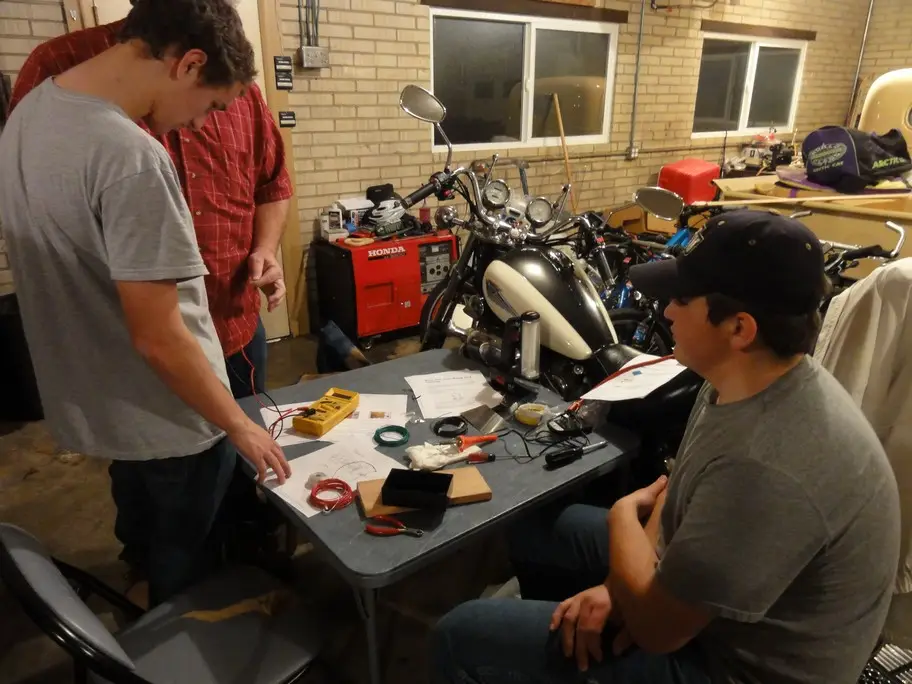
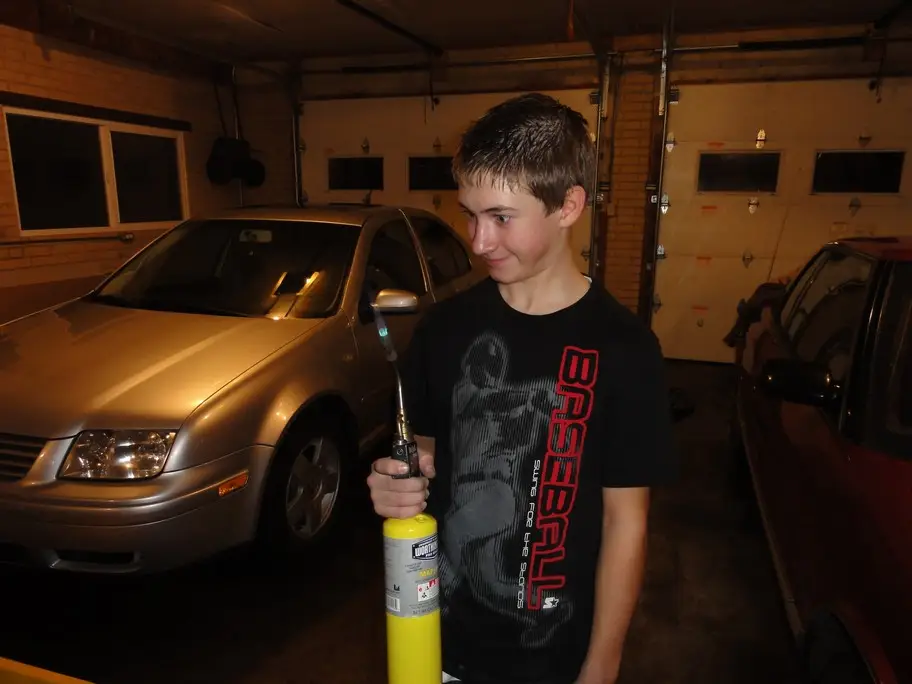
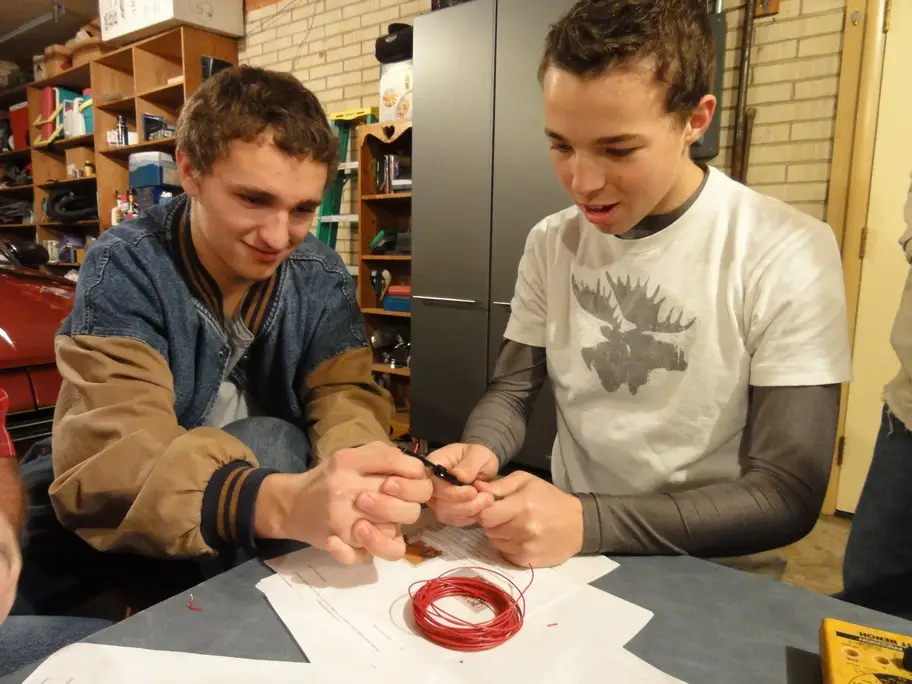
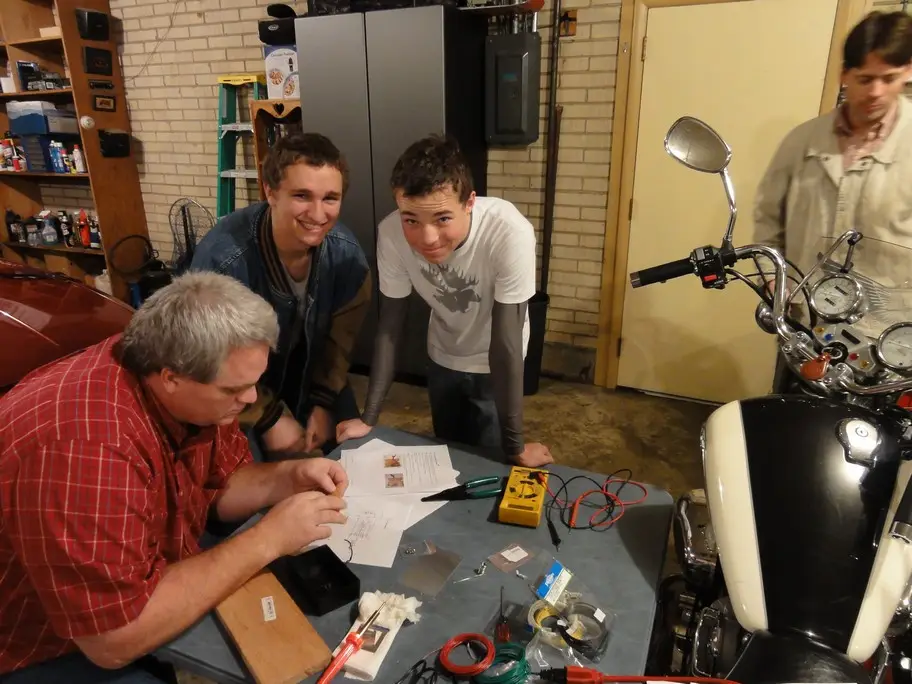
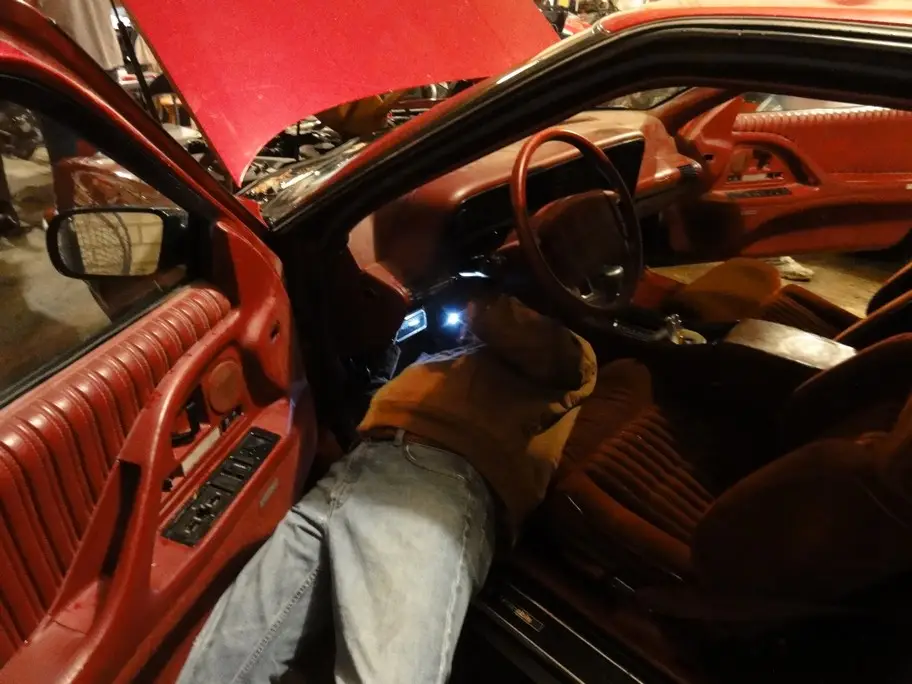
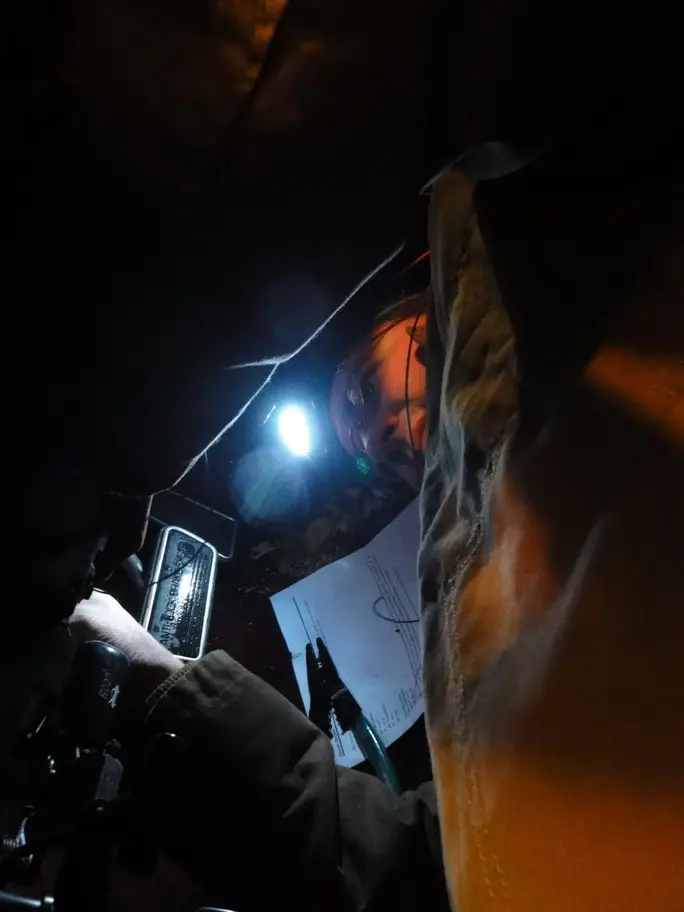
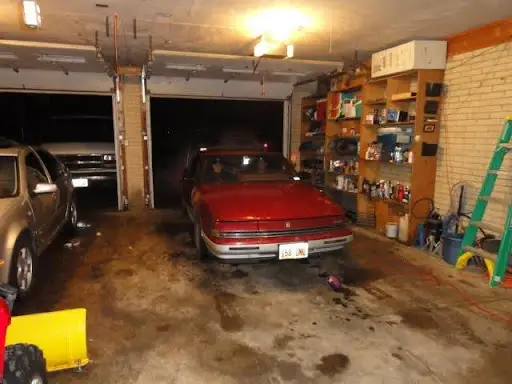
Some days later, Jimbo sent some pictures, as promised. They are all here.

NEWROCKIES Case Study 1

CASE 2:

NEWROCKIES and Scout Troop 980 to save an old friend!

For this event NEWROCKIES provided Utah Troop 980 with a simplified version of the PRO Module’s design that they could build on their own.

Building a GM Passkey Bypass was a perfect fit for their Electronics Merit Badge and the only way to save an old friend!

We are so grateful to the Scout Master Benjamin Warren, from Utah, for this letter and we thank him and the Troop for their valiant efforts, and for permission to publish their story and fantastic photos!

It’s scary and can happen to anybody.

This ’92 Olds Toronado was given to me by a relative, and it’s been a trusty friend for years, until last summer when returning from a scout trip to “Hole in the Rock” — a 60 mile dirt road (no services) in Southern Utah that retraces the route that early pioneers took cross the Colorado River (now Lake Powell) when settling Southeastern Utah.

On the way home from S. Utah we stopped for gas, and the car wouldn’t start (fortunately for us, it didn’t happen somewhere out on Hole-in-the-Rock road!). After a few minutes, it started back up, but thereafter it would randomly fail to start once or twice a week.

I could tell it wasn’t the typical low battery, because the Olds would just as randomly start again, usually after 10+ minutes of “waiting.” Waiting usually meant pushing the vehicle away from the gas pump into a parking stall, trying in vain to analyze why this was happening, taking out the key and trying to put it back in while feeling “lucky,” running through the gears, disconnecting and reconnecting the battery, going back into the store for a few more items that I pretended to have forgotten to purchase, and finally calling my wife to come and rescue me, only then to have it start right back up! It made absolutely no sense. I seriously wonder how many people have been institutionalized after trying to bend their mind around such a perplexity.

Days would go by without a problem, and then, at the most inopportune time (of course), the dreaded silence at the turn of the key would return, and another round of the “waiting” game.

Discovering the truth of a GM Passkey Bypass

Fortunately, I decided to see what I could learn from an internet search before taking it to the shop. I learned about the resistor chip in the key, and decided to have a new key made to solve my problems. . .

Chipped Key
Chipped Key

The local key shop wanted to charge me $35 dollars for a new key with the resistor chip (“no thanks!”), and I remembered that I had a spare somewhere at home. I went home and found the spare key, which wasn’t worn, and it worked!…for a few days. Aaargh!

Through additional searching, I learned that the key wasn’t the only component of the Passkey system, there was much more, key and lock were only the tip of the iceberg while the real culprit is often the TDM which is the brain of the entire Passkey system. I discovered that all those “resistor tricks” or “passlock bypass kits” around were bypassing only the key and lock while leaving the TDM completely untouched and faulty, or ready to fail. That’s when I came across the newrockies.com website and discovered the difference between a bypass and a FULL bypass.

The elecronics merit badge!

I’m a scoutmaster in my local community and it just so happened that our troop had just started working on the electronics merit badge, so I thought building the simplified version of your GM Passkey bypass circuit would make a great hands-on, real-life electronics experiment for the troop (and if our efforts failed I could always go back and purchase the real PRO Module).

Before extracting the factory passkey circuit from the Olds, I decided to drive the car to town for the necessary electronic components (after all, the car had been ‘working’ for a few days). Radio Shack didn’t have the components, so I went to Central Utah Electronics Supply. When I left the store, the car wouldn’t start! And this time, the traditional “waiting” period didn’t work either.

Car with Passkey system
At the Central Utah Electronics Supply

After getting the car back home, I promptly removed the factory passkey box. It was a little difficult to find — tucked way up underneath the dash board, but in the general area stated by the instructions. My passkey wire connector wasn’t arranged exactly as stated in the instructions, but close. Luke from newrockies.com responded to a quick email to confirm my hunch as to which wire was which in my wire configuration.

GM Passkey Box
Removing the dashboard paneling to extract the GM Passkey box.

I wonder if the miles of washboards along Hole-in-the-Rock road had anything to do with the demise of this seemingly fragile security feature.

TDM
The culprit: The GM Passkey box (extracted from underneath the dashboard).

We towed the car to the garage of one of the other scout leaders, and had a long but successful scout activity that evening.

Pulling a faulty VATS/Passkey car
Towing “Ramses” to the garage, where we could build and test the GM Passkey bypass circuit.
Car has no-start issue
Ramses in the garage — DOA.

After explaining each of the components to the boys, we spent some time arranging things on the circuit board so as to minimize the need for soldering. We had to look up a couple of our components online to confirm which pins were which, but from there it was fairly straightforward.

We ended up not using wires on the back of the circuit board, but just soldered the necessary pins together in lines (thanks to our efficient arrangement of components). Soldering the new circuit to the old wires was a bit difficult due to the inaccessibility of the old wires (they barely cleared the metal panel under the dash, and could only be reached by fingertip).

Learning about the components of the GM Passkey Bypass circuit…
Car with no start problem
if the experiment were to fail, we talked about torching the Olds and pushing it off a cliff….
Building a Passkey Bypass
Stripping the wires…

With the new circuit all connected, we tried starting the car, and it turned over!…for 1 second, then quit, and the dashboard panel glared a “security” error at us (interestingly, in all the previous random start failures, I never got a “security” error).

Passkey Bypass Not Working
Not working… Retesting everything.

Out came the multimeter, and we went back over the whole circuit, testing each connection. One of our solder points needed just a bit more solder to make the connection. So we fixed that, tried again….and….it worked. The old Olds fired right up!!

Installing the GM Passkey Bypass
Find TDM Location
Somewhat hard to get there…
Newrockies Passkey Bypass is legit and works
We turn the key, and Ramses comes back to life!

It was now 11pm (it took us 4 hours to put it together, test and fix it, but we called each parent to ask permission before keeping the boys late), and so we hopped in the car and drove to town for ice cream cones, as promised.

Could you make me a key with no chip please?

The next day on my way through town, I stopped at the key place and asked them to make a duplicate key for the Olds. They said, “Just so you know, those keys are 35 bucks each.” And you should have seen the look on their faces when I nonchalantly said “no, just make one without the chip… our boy scout troop built a GM Passkey bypass circuit last night to get rid of that security feature!”

The duplicate key worked – without chip – and the Olds continues to work without problems now.
Thanks again. Your great instructions and help brought my Olds back from the dead, and saved me hundreds of dollars in needless shop repairs!

Passkey system permanently bypassed
Ramses pulling out of the garage on its own power.
Time for Ice-cream at 11pm!